MCP Server Tutorial: Build Your Own AI Tools in 30 Minutes
Build your own MCP server with custom AI tools in 30 minutes. Step-by-step TypeScript tutorial covering tool creation, validation, and integration with NeuroLink SDK.
You will build an MCP server with three custom AI tools in 30 minutes: a database query tool, a notification tool, and a file operations tool. By the end of this tutorial, you will have a working MCP server with Zod-validated tool schemas, rate limiting, circuit breaker resilience, and full integration with the NeuroLink SDK for end-to-end AI tool calling.
The Model Context Protocol (MCP) decouples your business logic from your AI orchestration layer. Instead of hardcoding tool logic into your application, you define tools on a server that any AI agent can discover and execute at runtime. Now you will set up the server and build your first tool.
What is the Model Context Protocol?
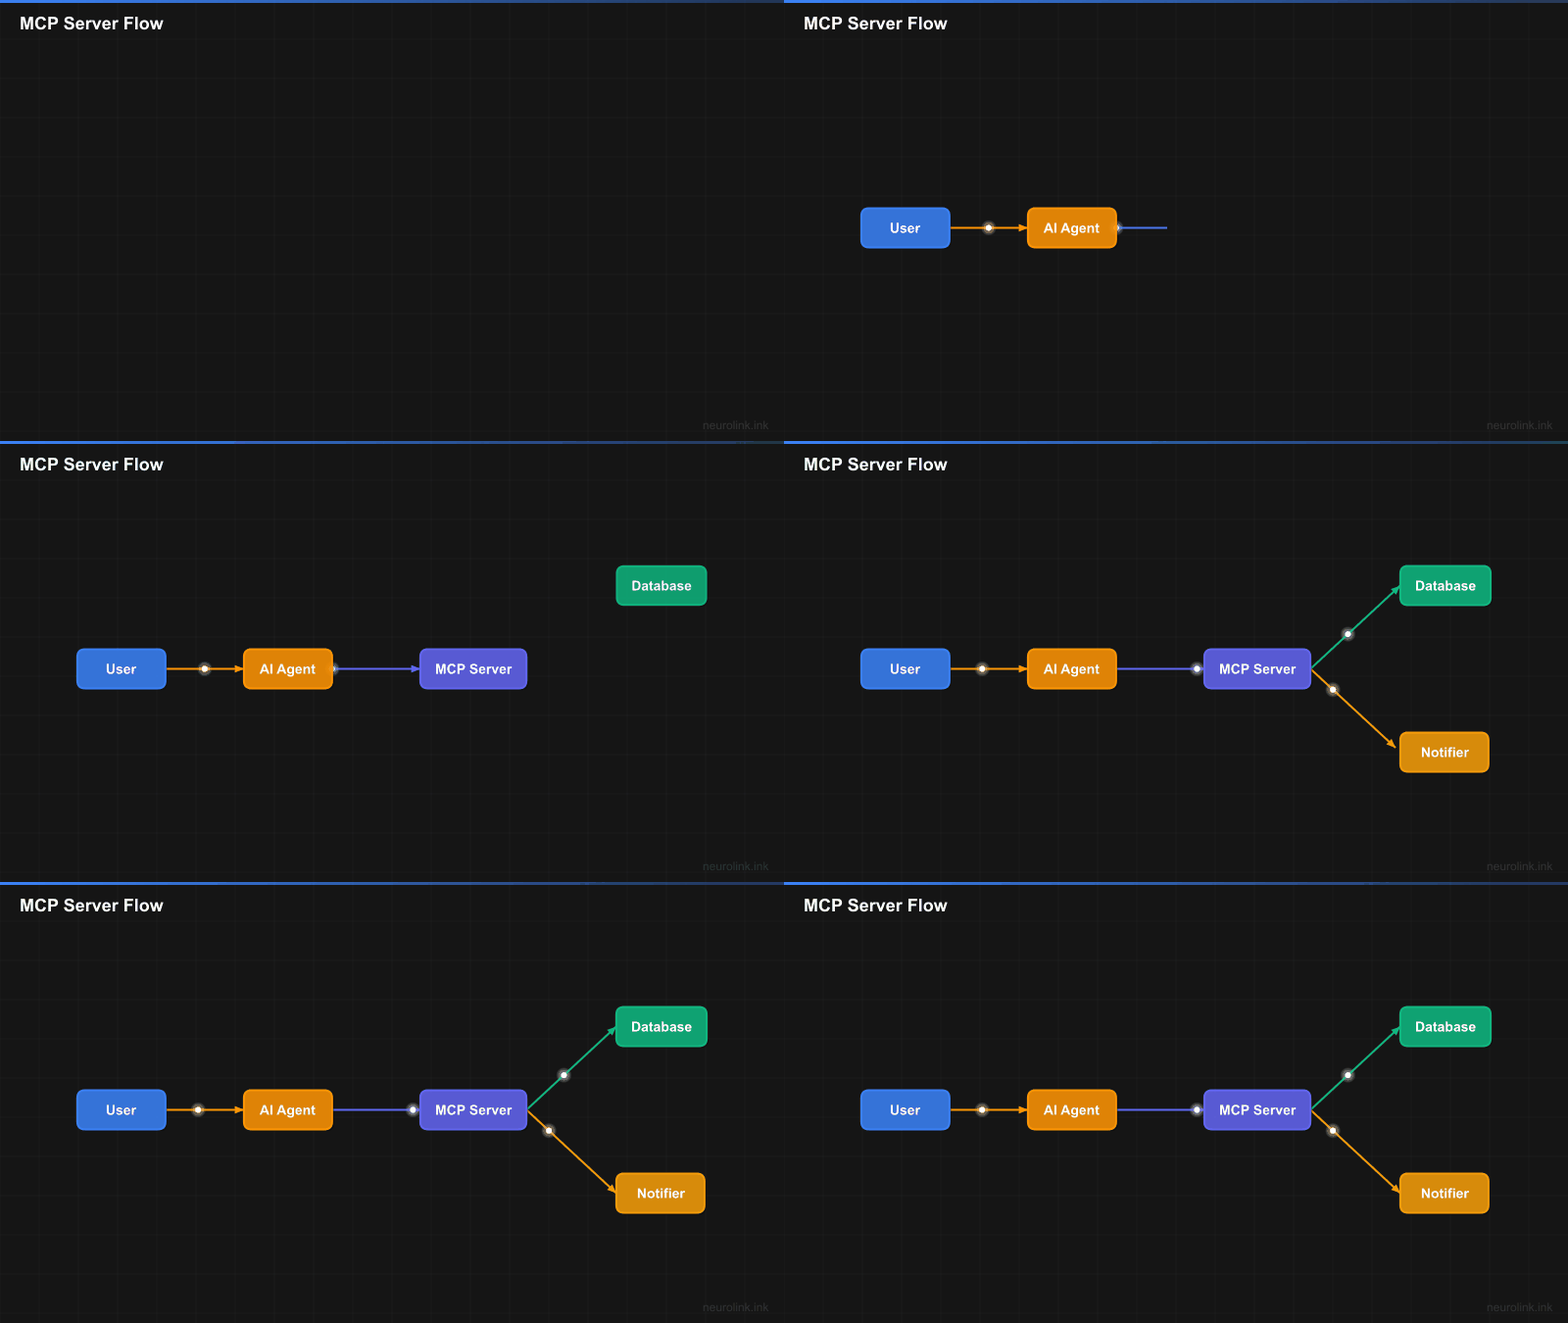
MCP standardizes how AI models discover and execute tools. The protocol defines a clear lifecycle: a server registers tools with their schemas, an AI agent discovers those tools at connection time, the model decides when to call a tool based on the user’s request, the server executes the tool logic, and the result flows back to the model for incorporation into the final response.
sequenceDiagram
    participant U as User
    participant A as AI Agent
    participant M as MCP Server
    participant T as Tool Implementation

    U->>A: Ask question
    A->>M: Discover available tools
    M-->>A: Tool list with schemas
    A->>A: LLM decides to call tool
    A->>M: Execute tool with params
    M->>T: Run tool logic
    T-->>M: Return result
    M-->>A: Tool result
    A-->>U: Final answer using tool data
The key insight is separation of concerns. Your MCP server encapsulates business logic – database queries, API calls, file operations – behind a clean tool interface. The AI agent does not need to know how the database works or how notifications are sent. It just calls the tool with the parameters the schema defines.
This pattern has several practical benefits:
- Reusability: The same MCP server can serve multiple AI agents, different models, and different applications.
- Testability: Tools have defined inputs and outputs, making them easy to unit test in isolation.
- Security: Tool execution happens server-side where you control access, rate limiting, and audit logging.
- Discovery: Agents automatically learn what tools are available and how to call them.
Step 1 – Create an MCP Server
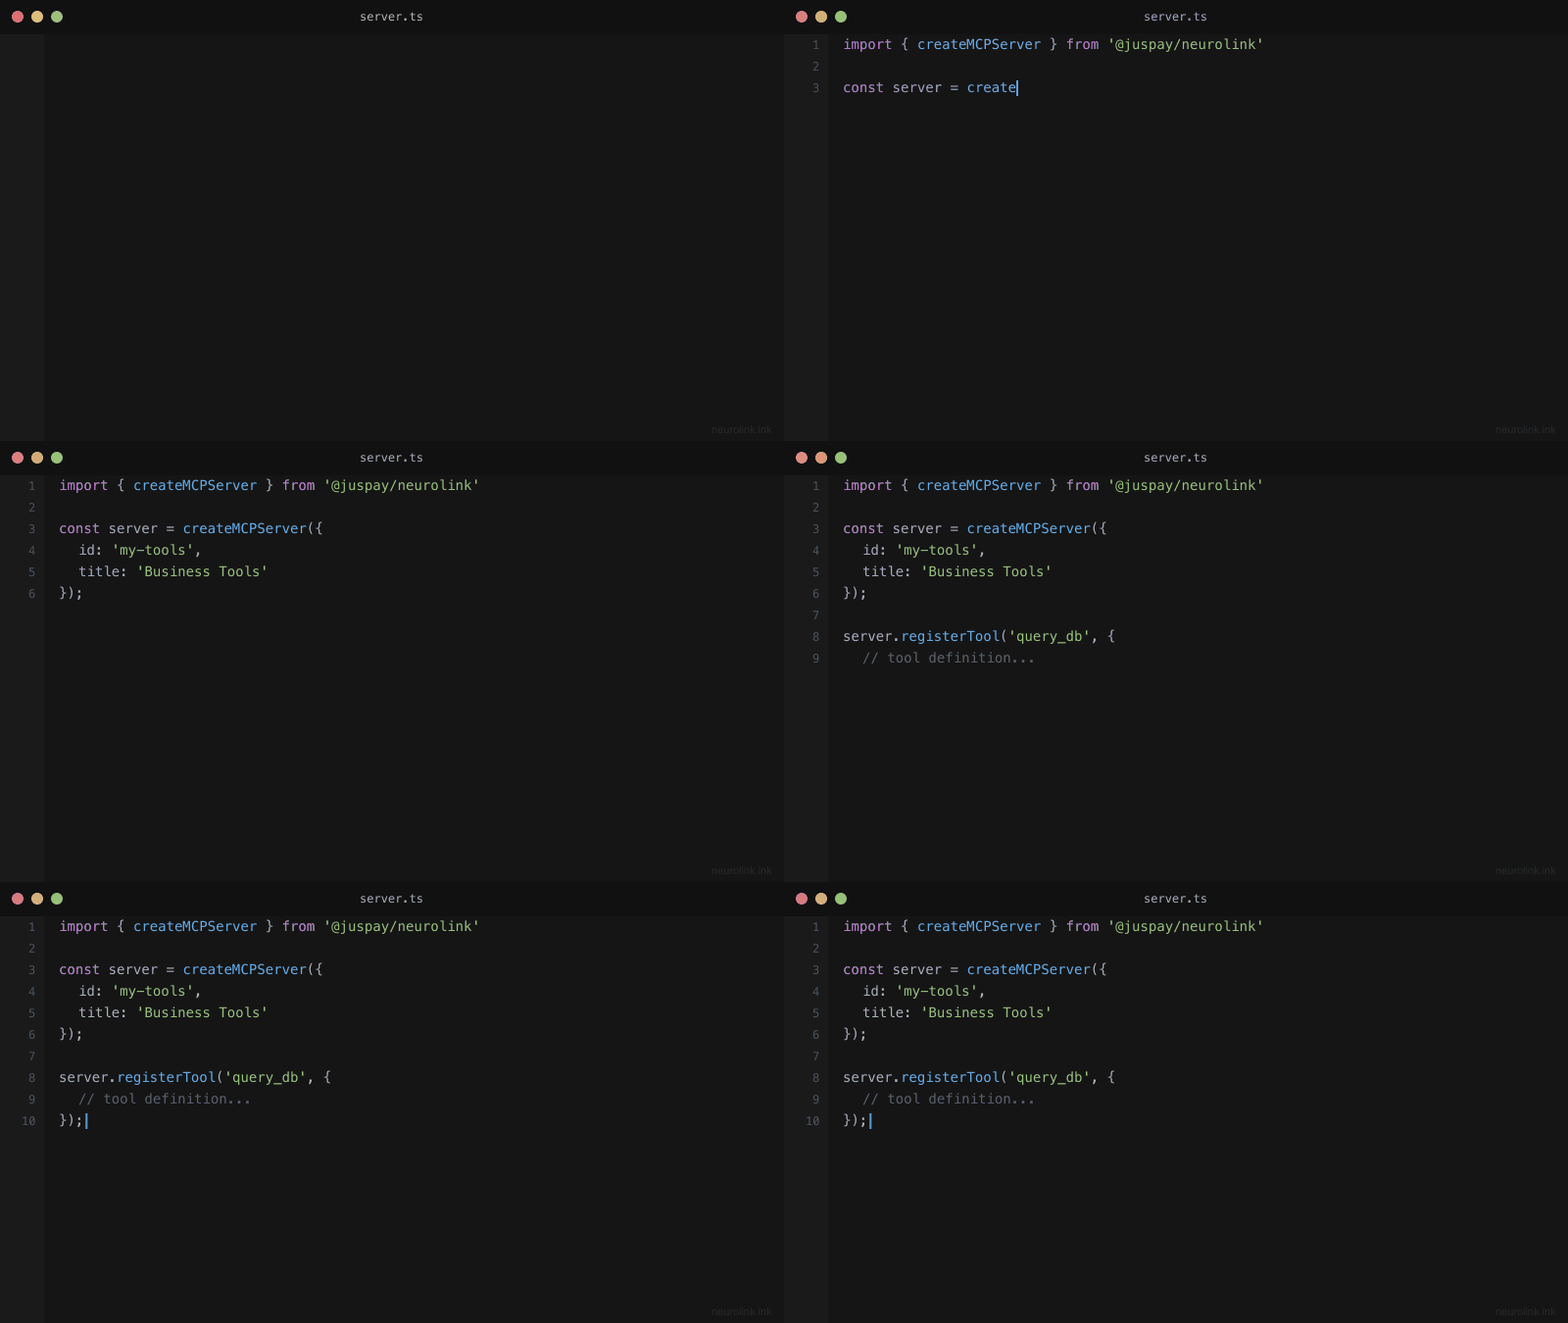
Start by creating a server using the createMCPServer() factory function. The server needs an ID, title, description, and category.
1
2
3
4
5
6
7
8
9
10
11
12
import { createMCPServer } from "@juspay/neurolink";

const server = createMCPServer({
  id: "my-business-tools",
  title: "Business Tools Server",
  description: "Custom tools for business operations",
  category: "business",
  version: "1.0.0",
});

console.log("Server created:", server.id);
console.log("Category:", server.category); // "business"
The category field classifies your server for discovery and organization. NeuroLink supports the following categories: aiProviders, frameworks, development, business, content, data, integrations, automation, analysis, and custom. Choose the one that best describes your tools’ purpose.
The server object is a lightweight container that holds tool registrations and provides methods for validation and execution. It does not start an HTTP server or listen on a port. It is a logical grouping of tools that can be embedded in any application, exposed over HTTP, or used directly in-process.
Step 2 – Register Tools
Tools are the core of your MCP server. Each tool needs a name, a description (used by the LLM to decide when to call it), an inputSchema (defined with Zod for runtime validation and type inference), and an execute function that contains your business logic.
1
2
3
4
5
6
7
8
9
10
11
12
13
14
15
16
17
18
19
20
21
22
23
24
25
26
27
28
29
30
31
32
33
34
35
36
37
38
39
40
41
42
43
44
45
46
47
48
49
50
51
52
53
54
55
56
57
58
59
60
61
62
63
64
65
66
67
68
69
70
71
72
73
74
75
import { promises as fs } from "node:fs";
import * as path from "node:path";
import { z } from "zod";
import type { NeuroLinkMCPTool } from "@juspay/neurolink/types";

const QueryDatabaseInput = z.object({
  query: z.string().describe("SQL SELECT query"),
  limit: z.number().optional().default(100).describe("Max rows"),
});

const queryDatabaseTool: NeuroLinkMCPTool = {
  name: "queryDatabase",
  description: "Execute a read-only SQL query against the analytics database",
  inputSchema: QueryDatabaseInput,
  execute: async (params) => {
    const { query, limit } = QueryDatabaseInput.parse(params);
    if (!query.trim().toUpperCase().startsWith("SELECT")) {
      return { success: false, error: "Only SELECT queries allowed" };
    }
    // Use a read-only database role for defense-in-depth
    const results = await db.query(`${query} LIMIT $1`, [limit]);
    return { success: true, data: results, rowCount: results.length };
  },
};
server.registerTool(queryDatabaseTool);

const SendNotificationInput = z.object({
  channel: z.enum(["slack", "email"]).describe("Notification channel"),
  recipient: z.string().describe("Channel ID or email address"),
  message: z.string().describe("Notification message"),
});

const sendNotificationTool: NeuroLinkMCPTool = {
  name: "sendNotification",
  description: "Send a notification to a Slack channel or email",
  inputSchema: SendNotificationInput,
  execute: async (params) => {
    const { channel, recipient, message } = SendNotificationInput.parse(params);
    if (channel === "slack") {
      await slackClient.postMessage(recipient, message);
    } else {
      await emailClient.send(recipient, "AI Notification", message);
    }
    return { success: true, channel };
  },
};
server.registerTool(sendNotificationTool);

const ReadFileInput = z.object({
  path: z.string().describe("Relative file path"),
});

const readFileTool: NeuroLinkMCPTool = {
  name: "readFile",
  description: "Read the contents of a file from the project directory",
  inputSchema: ReadFileInput,
  execute: async (params) => {
    const { path: requestedPath } = ReadFileInput.parse(params);
    const PROJECT_DIR = path.resolve(process.cwd());
    const safePath = path.resolve(PROJECT_DIR, requestedPath);
    const relativePath = path.relative(PROJECT_DIR, safePath);
    if (relativePath.startsWith("..") || path.isAbsolute(relativePath)) {
      return { success: false, error: "Path traversal detected" };
    }
    try {
      const content = await fs.readFile(safePath, "utf-8");
      return { success: true, content, size: content.length };
    } catch (error) {
      // Return a structured error so the model can respond to the failure.
      const code = error instanceof Error && "code" in error ? error.code : undefined;
      return { success: false, error: code === "ENOENT" ? "File not found" : String(error) };
    }
  },
};
server.registerTool(readFileTool);
Security: This example allows the LLM to submit arbitrary SELECT queries. In production, use a read-only database role, restrict queries to an allowlist of approved tables, and consider a query builder like Knex or Drizzle instead of raw SQL. The
startsWith("SELECT")check is a minimal guard — it does not prevent data exfiltration viaUNIONor subqueries. Always use parameterized queries for user-supplied values (likelimit), and never interpolate untrusted input into SQL identifiers (table or column names).
A few important design principles for tool definitions:
Descriptions matter more than names. The LLM reads the description to decide when to call the tool. Write descriptions that clearly state what the tool does, what inputs it expects, and what it returns. A vague description leads to incorrect tool selection.
Zod schemas document and validate contracts. The inputSchema defines the exact shape of the input the tool accepts and exposes that shape to tool consumers. createMCPServer() stores the schema but does not parse direct calls to server.tools[name].execute() for you, so each example calls Schema.parse(params) at the start of its implementation. Use .describe() on each field to give the LLM hints about expected values.
Execute functions should be defensive. Always validate inputs beyond what Zod checks. In the database tool example, we verify the query starts with SELECT even though the description says “read-only” – because LLMs do not always follow instructions perfectly.
Note: Tool names should be camelCase and descriptive. The LLM uses the name alongside the description to determine when a tool is appropriate. Avoid generic names like “doThing” or “process” – specific names like “queryDatabase” or “sendNotification” give the model clearer intent signals.
Step 3 – Validate Tools
Before using your tools in production, validate them to ensure they follow proper patterns. The validateServerTools() function checks all registered tools for completeness and correctness.
1
2
3
4
5
6
7
8
9
10
11
12
13
14
15
16
import { validateServerTools, getServerInfo } from "@juspay/neurolink";

// Validate all tools
const validation = await validateServerTools(server);

if (!validation.isValid) {
  console.error("Invalid tools:", validation.invalidTools);
  console.error("Errors:", validation.errors);
  process.exit(1);
}

// Get server info
const info = getServerInfo(server);
console.log(`Server: ${info.title}`);
console.log(`Tools registered: ${info.toolCount}`);
console.log(`Category: ${info.category}`);
Validation checks include: tool names follow the supported character and length rules, descriptions are present and descriptive, execute functions are callable and async, and optional schemas have object-like shapes. Running validation at startup catches configuration errors early, before any user request hits a broken tool.
The getServerInfo() function provides a summary of the server’s state: its ID, title, description, category, registered tool count, and capabilities. This is useful for health check endpoints and operational dashboards.
Step 4 – Use Tools with NeuroLink
Now connect your MCP tools to the NeuroLink SDK so that LLMs can discover and call them during generation.
1
2
3
4
5
6
7
8
9
10
11
12
13
14
15
16
17
18
19
20
21
22
23
24
25
26
27
28
29
30
31
32
33
34
35
import { NeuroLink } from "@juspay/neurolink";

const neurolink = new NeuroLink();

// Bridge MCP server tools into the shape generate()'s `tools` option expects:
// an object of { description, inputSchema, execute } entries.
const aiTools = {
  queryDatabase: {
    description: queryDatabaseTool.description,
    inputSchema: QueryDatabaseInput,
    execute: async (params: z.infer<typeof QueryDatabaseInput>) => {
      // Delegate to the MCP server tool (second arg is the execution context)
      return queryDatabaseTool.execute(params, {});
    },
  },
  sendNotification: {
    description: sendNotificationTool.description,
    inputSchema: SendNotificationInput,
    execute: async (params: z.infer<typeof SendNotificationInput>) => {
      return sendNotificationTool.execute(params, {});
    },
  },
};

// Use tools in generation
const result = await neurolink.generate({
  input: {
    text: "How many orders did we process last week? Send a summary to #analytics on Slack.",
  },
  provider: "openai",
  model: "gpt-5.4",
  tools: aiTools,
});

console.log(result.content);
When you pass tools to neurolink.generate(), the LLM receives the tool schemas as part of its system context. It then decides whether to call tools based on the user’s request. In this example, the model would likely call queryDatabase to get order counts, then call sendNotification to post the summary to Slack, and finally synthesize a natural language response.
The delegation pattern (generation tool wrapping MCP server tool) keeps your MCP server as the single source of truth for tool logic. The tools entries are thin wrappers that forward execution to the MCP server. This means you can update tool logic in one place and all consumers get the update automatically.
Note:
generate()’stoolsoption and the MCP server’sregisterTool()both useinputSchemafor the Zod schema, but theirexecutesignatures differ: an MCP tool’sexecute(params, context)takes aNeuroLinkExecutionContext, while a generation tool’sexecute(input, options)takes AI SDK call options. The wrapper pattern shown above bridges the two by passing an empty context object through.
Step 5 – Add Rate Limiting and Circuit Breaking
Production MCP servers need protection against abuse and cascading failures. NeuroLink provides built-in rate limiting and circuit breaking specifically designed for MCP tool execution.
1
2
3
4
5
6
7
8
9
10
11
12
13
14
15
16
17
18
19
20
21
22
23
24
25
import {
  HTTPRateLimiter,
  MCPCircuitBreaker,
  DEFAULT_RATE_LIMIT_CONFIG,
} from "@juspay/neurolink";

// Allow bursts of 10 requests, then refill at 100 / 60 tokens per second.
const rateLimiter = new HTTPRateLimiter({
  ...DEFAULT_RATE_LIMIT_CONFIG,
  requestsPerWindow: 100,
  windowMs: 60000,
  refillRate: 100 / 60,
  maxBurst: 10,
});

// Circuit breaker: named per protected operation, opens after 5 failures, resets after 30s
const dbCircuitBreaker = new MCPCircuitBreaker("queryDatabase", {
  failureThreshold: 5,
  resetTimeout: 30000,
});

await rateLimiter.acquire();
const dbResult = await dbCircuitBreaker.execute(async () => {
  return queryDatabaseTool.execute({ query: "SELECT 1", limit: 1 }, {});
});
The rate limiter uses a token-bucket algorithm: each request consumes one token, tokens replenish at refillRate per second, and the bucket is capped at maxBurst. Set refillRate explicitly when changing requestsPerWindow; the current implementation stores requestsPerWindow and windowMs for configuration and statistics but uses refillRate for replenishment.
MCPCircuitBreaker is constructed per named operation – pass a name identifying what it protects (here, "queryDatabase"), then wrap the call in .execute(). Once at least minimumCallsBeforeCalculation calls have been recorded (default 10), the circuit opens when failures in the statistics window reach failureThreshold (here, 5). It then rejects with CircuitBreakerOpenError without attempting execution. After 30 seconds (resetTimeout), the circuit enters a half-open state and allows up to halfOpenMaxCalls test requests (default 3). All three successful probes close it; a failed probe reopens it.
Together, rate limiting and circuit breaking provide reusable resilience controls for the operations you explicitly wrap.
Tool validation deep dive
The validateMCPTool() function provides fine-grained validation for individual tools, useful during development and testing. (NeuroLink also exports a separate validateTool(name, tool) for its simpler SDK tool-registration API, which throws on an invalid tool instead of returning a boolean – for the createMCPServer()/NeuroLinkMCPTool shape used throughout this tutorial, validateMCPTool() is the one that matches.)
1
2
3
4
5
6
7
8
9
import { validateMCPTool } from "@juspay/neurolink";

const isValid = validateMCPTool({
  name: "myTool",
  description: "Does something useful",
  execute: async (params) => ({ result: "ok" }),
});

console.log("Valid:", isValid); // true
Validation checks cover several categories:
- Name validation: Names must start with a letter, use only letters, numbers, underscores, or hyphens, stay within 64 characters, and avoid reserved names.
- Description validation: Descriptions must be 10-500 characters and contain enough meaningful words.
- Execute validation: The execute field must be a callable async function.
- Schema shape checks: Optional
inputSchemaandoutputSchemavalues must be objects; non-object values produce validation warnings.
Running validation in your CI/CD pipeline catches malformed tool definitions before deployment.
Architecture overview
Here is the complete architecture of an MCP server integrated with NeuroLink:
flowchart TD
    A[createMCPServer] --> B[MCP Server Instance]
    B --> C[registerTool x3]
    C --> D[validateServerTools]
    D --> E{Valid?}
    E -->|Yes| F[NeuroLink SDK]
    E -->|No| G[Fix Errors]
    G --> C
    F --> H[generate/stream with tools]
    H --> I[LLM calls tools]
    I --> J[Tool executes]
    J --> K[Result returned to LLM]
    K --> L[Final response]

    M[Rate Limiter] --> I
    N[Circuit Breaker] --> I
The flow is straightforward: create a server, register tools, validate them, and connect to NeuroLink. During generation, the LLM calls tools as needed. The example wraps the database call in a circuit breaker; apply rateLimiter.acquire() and the breaker to each external operation you want to protect. Results flow back to the LLM for synthesis into a final response.
Testing Your MCP Tools
Testability is one of the strongest benefits of the MCP pattern. Because tools have defined inputs and outputs, you can unit test them without any AI involvement:
1
2
3
4
5
6
7
8
9
// Unit test
const result = await queryDatabaseTool.execute(
  {
    query: "SELECT COUNT(*) FROM orders WHERE date > '2025-01-01'",
    limit: 1,
  },
  {}
);
assert(result.success === true);
For integration testing, run the full flow through neurolink.generate() with your tools and verify that the model correctly identifies when to call each tool and how to interpret the results. Mock your external dependencies (database, Slack, email) to keep integration tests fast and deterministic.
Test edge cases thoroughly: What happens when the database returns zero rows? When the Slack API is down? When the file does not exist? Each tool should return structured error responses that the LLM can interpret gracefully, rather than throwing unhandled exceptions.
1
2
3
4
5
6
7
8
9
10
11
12
13
14
15
16
17
18
// Edge case test: invalid SQL
const invalidResult = await queryDatabaseTool.execute(
  {
    query: "DROP TABLE orders",
    limit: 1,
  },
  {}
);
assert(invalidResult.success === false);
assert(invalidResult.error === "Only SELECT queries allowed");

// Edge case test: missing file
const missingFileResult = await readFileTool.execute(
  { path: "./nonexistent.txt" },
  {}
);
assert(missingFileResult.success === false);
assert(missingFileResult.error === "File not found");
Tip: Always return structured error objects from your tools rather than throwing exceptions. The LLM can interpret a
{ success: false, error: "..." }response and adjust its approach, but an unhandled exception terminates the tool call chain entirely.
Real-World MCP Server Patterns
Beyond the basics, here are patterns we see in production MCP deployments:
Composite tools wrap multiple operations into a single tool call. Instead of the LLM calling “queryDatabase” and then “sendNotification” separately, a “generateAndSendReport” tool handles the entire workflow internally. This reduces the number of tool calls and the chance of the LLM making intermediate mistakes.
Parameterized permissions restrict tool access based on the calling context. A tool can check the user’s role before executing sensitive operations, returning a permission error if the caller lacks the required access level.
1
2
3
4
5
6
7
8
9
10
11
12
13
14
15
16
17
18
19
20
21
22
// Authentication middleware for MCP tool execution
import type { NeuroLinkMCPTool } from "@juspay/neurolink/types";

function withAuth(tool: NeuroLinkMCPTool, requiredRole: string): NeuroLinkMCPTool {
  return {
    ...tool,
    execute: async (params, context) => {
      // Pass the caller's token through context.metadata (NeuroLinkExecutionContext's
      // generic extension point) -- it has no dedicated headers/auth field.
      const token = context.metadata?.authorization as string | undefined;
      const user = await verifyToken(token);
      if (!user || !user.roles.includes(requiredRole)) {
        return { success: false, error: "Unauthorized: insufficient permissions" };
      }
      return tool.execute(params, { ...context, metadata: { ...context.metadata, user } });
    },
  };
}

// Usage
server.registerTool(withAuth(queryDatabaseTool, "analyst"));
server.registerTool(withAuth(sendNotificationTool, "admin"));
Caching layers store frequent tool results for reuse. If ten users ask “How many orders this month?” in a minute, the database tool can serve cached results instead of hitting the database ten times.
Audit logging records every tool call with its parameters, caller, timestamp, and result. This is essential for regulated industries where you need to prove what the AI did and why.
What you built
You built an in-process MCP server definition with three tools, startup validation, explicit rate limiting and circuit-breaker wrappers, and NeuroLink generation integration. To expose it to remote agents, add an MCP transport, authentication, authorization, audit logging, and deployment-specific controls.
Continue with these related tutorials:
- Building a RAG Application for exposing your RAG pipeline as an MCP tool
- Structured Output from LLMs for validating tool outputs with Zod schemas
- Building a Slack Bot with AI for connecting MCP tools to a Slack bot
Related posts: